
How to install your Slatwall Panels
Before you start you will need
Tape measure
Spirit Level
Circular saw ( best option for the best finish)
Fine toothed hand saw
Utility knife
Screwdriver (preferably electric) if using the screw to wall method
Grab adhesive and applicator gun if using the direct bond method
Pencil
Optional wood battens for sub frame
Screw to wall/ceiling Method

1: Ensure all surfaces are clean and dry

2: Measure the width & height

3: Cut the panels to length using a circular or hand saw. Cut to width with a utility knife
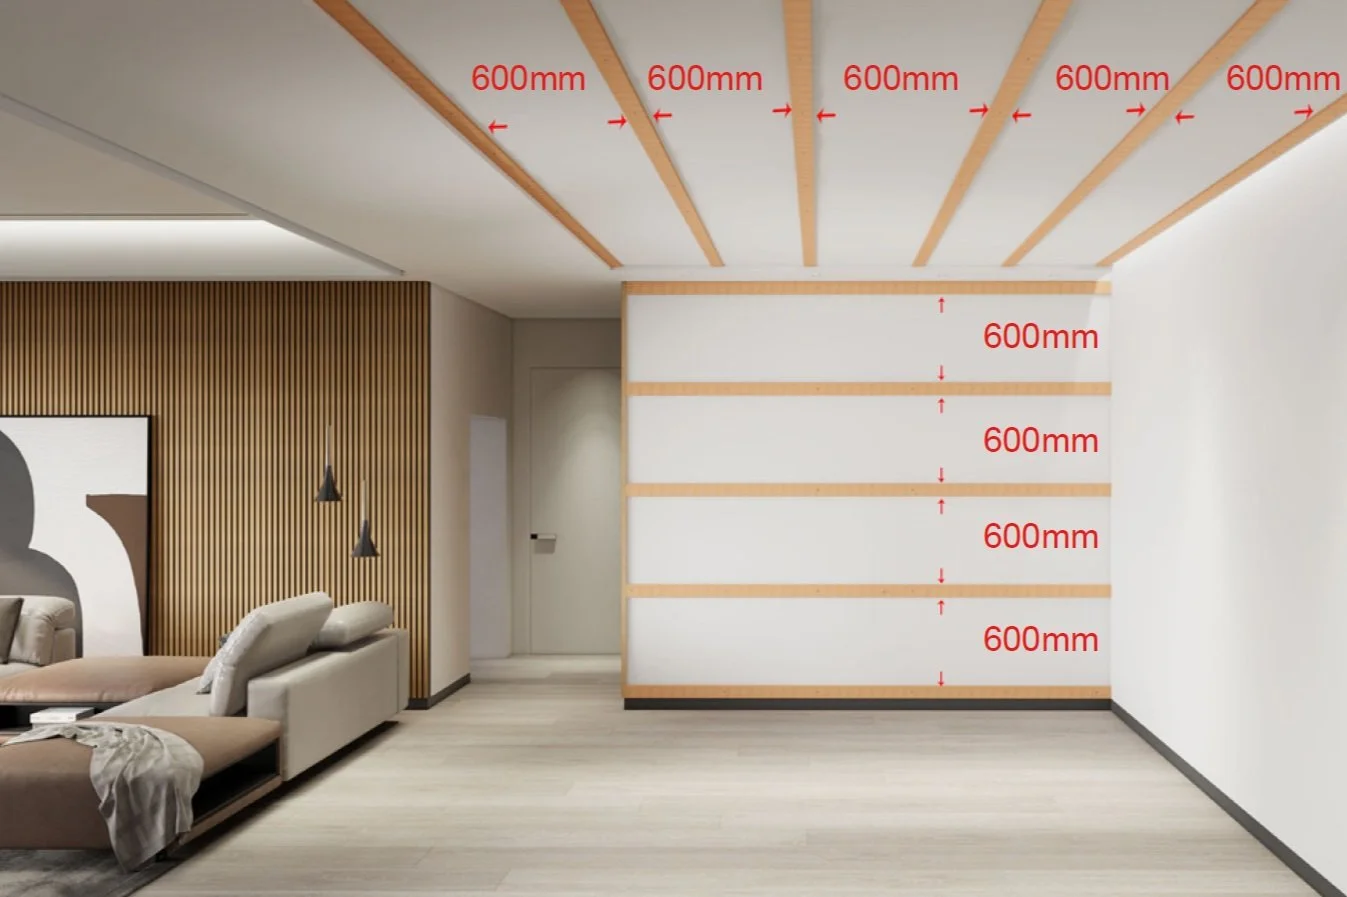
4: Optional Step Screw wood battens to wall or ceiling

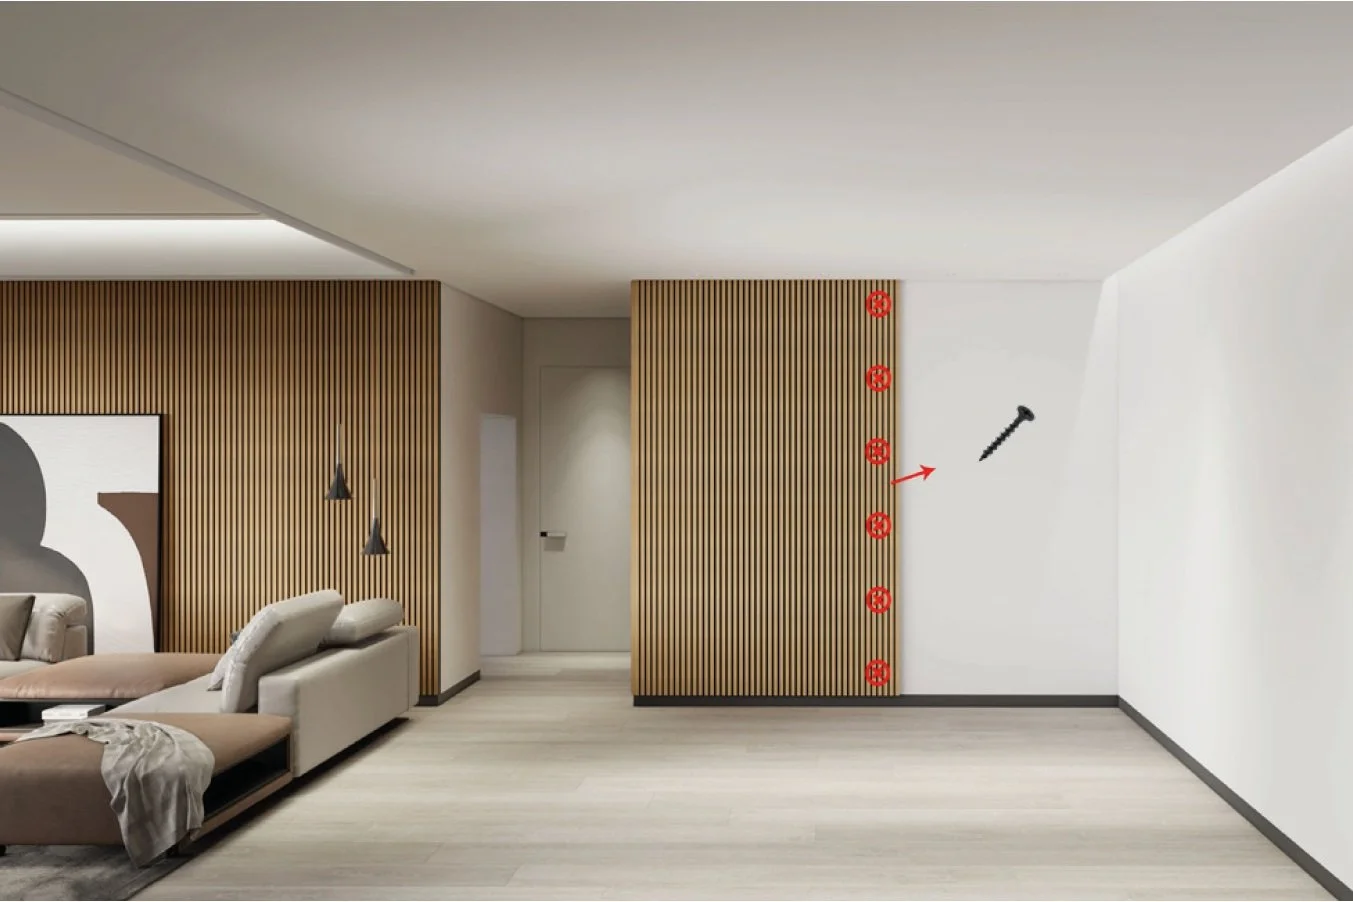
5: Screw the panels through the felt to the battens or directly to the wall
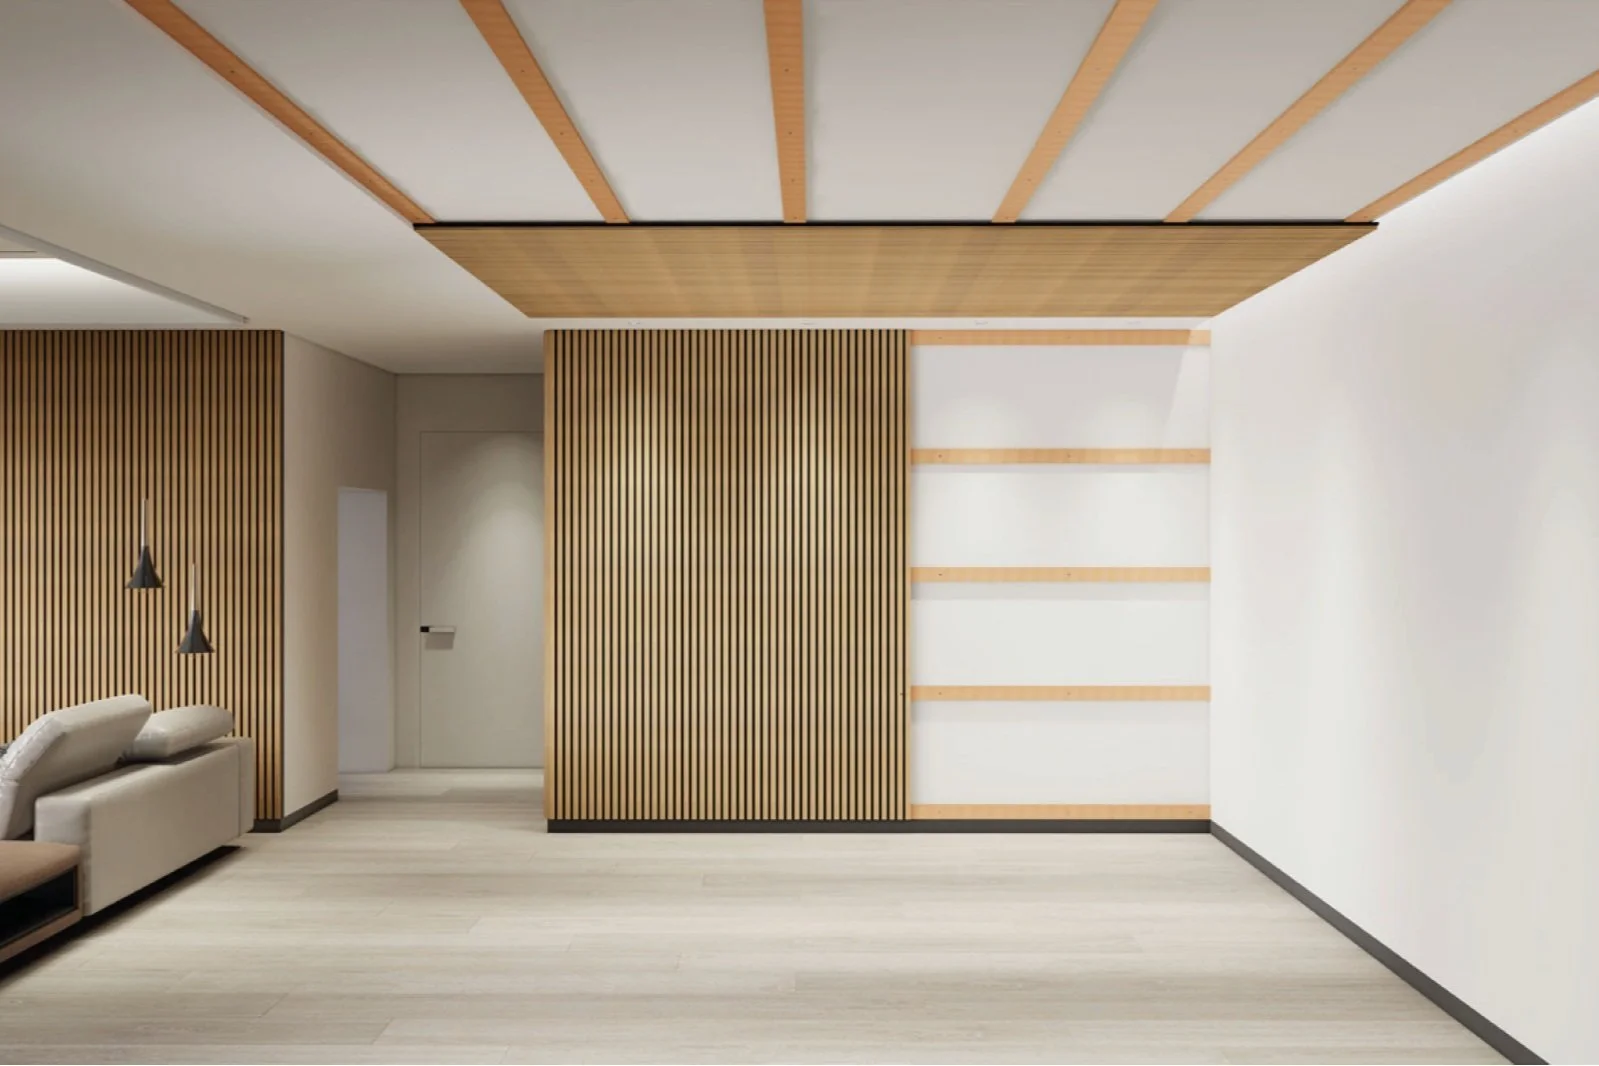
6: Continue fixing the panels overlapping the edges for a seamless finish
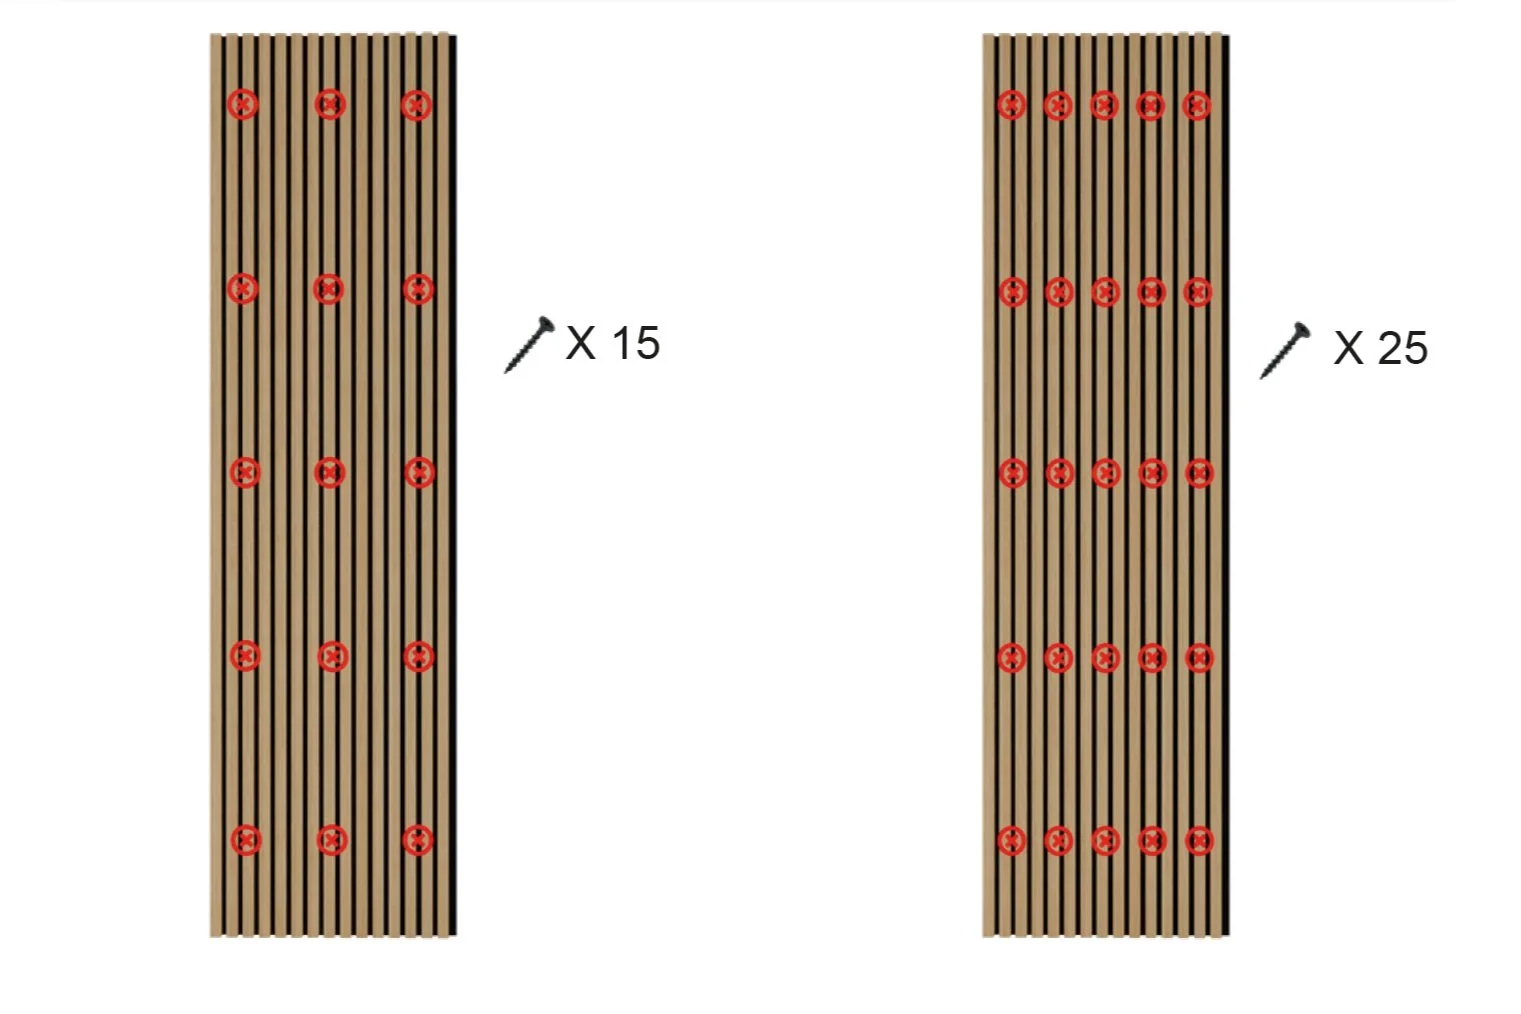
The recommended number of fixings is 15 for wall and 25 for ceiling application
Direct bonding to wall method

1: Ensure all surfaces are clean and dry
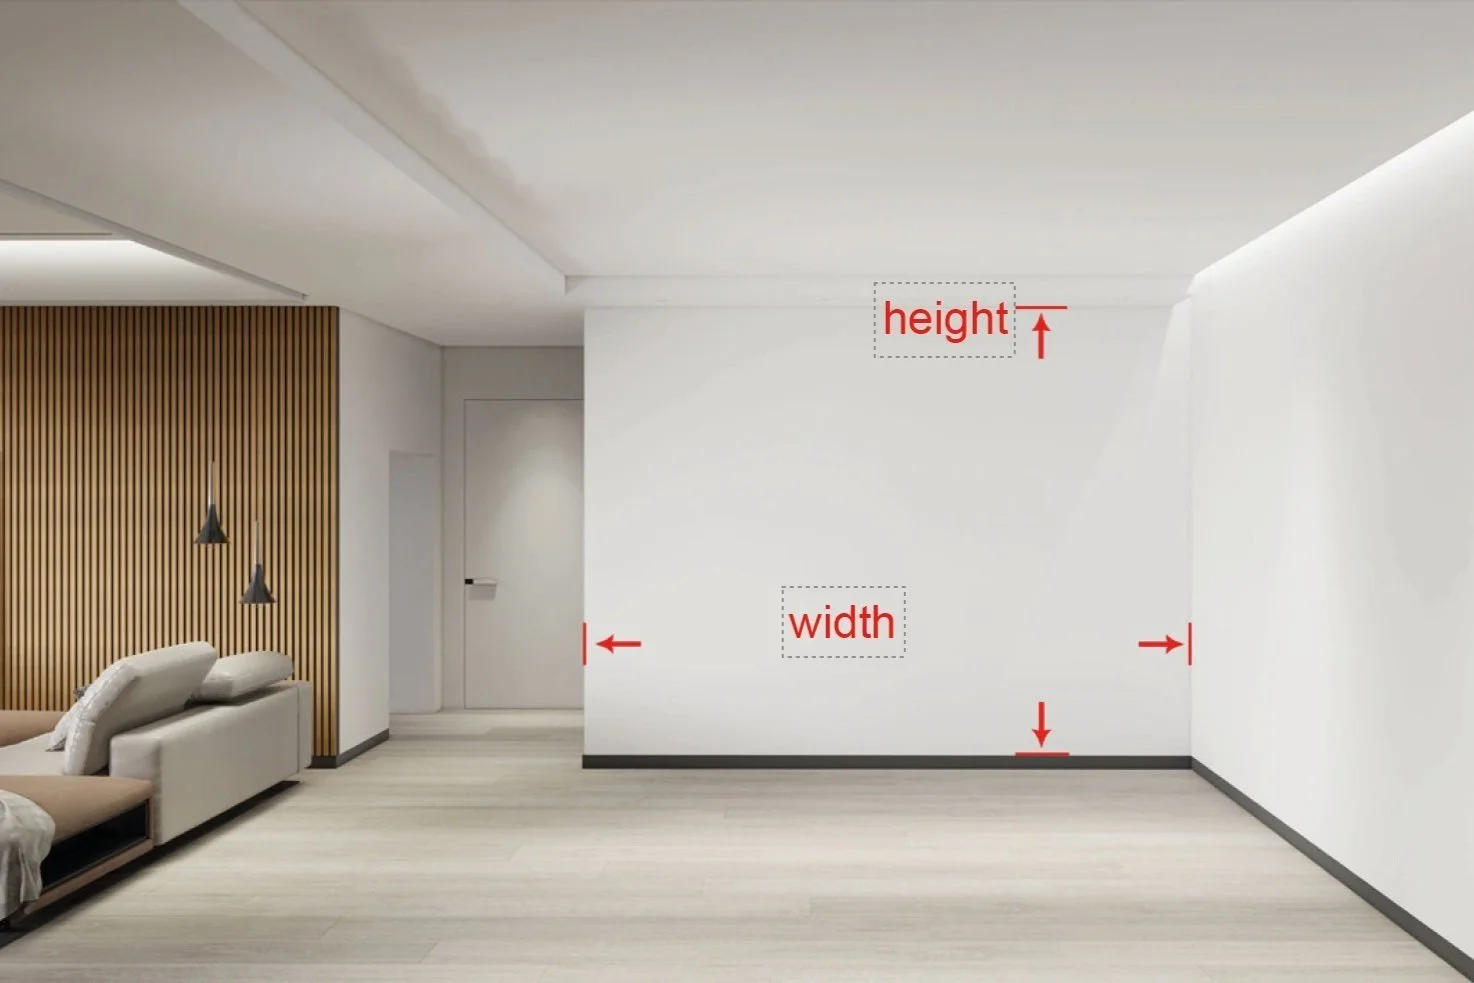
2: Measure the width & height
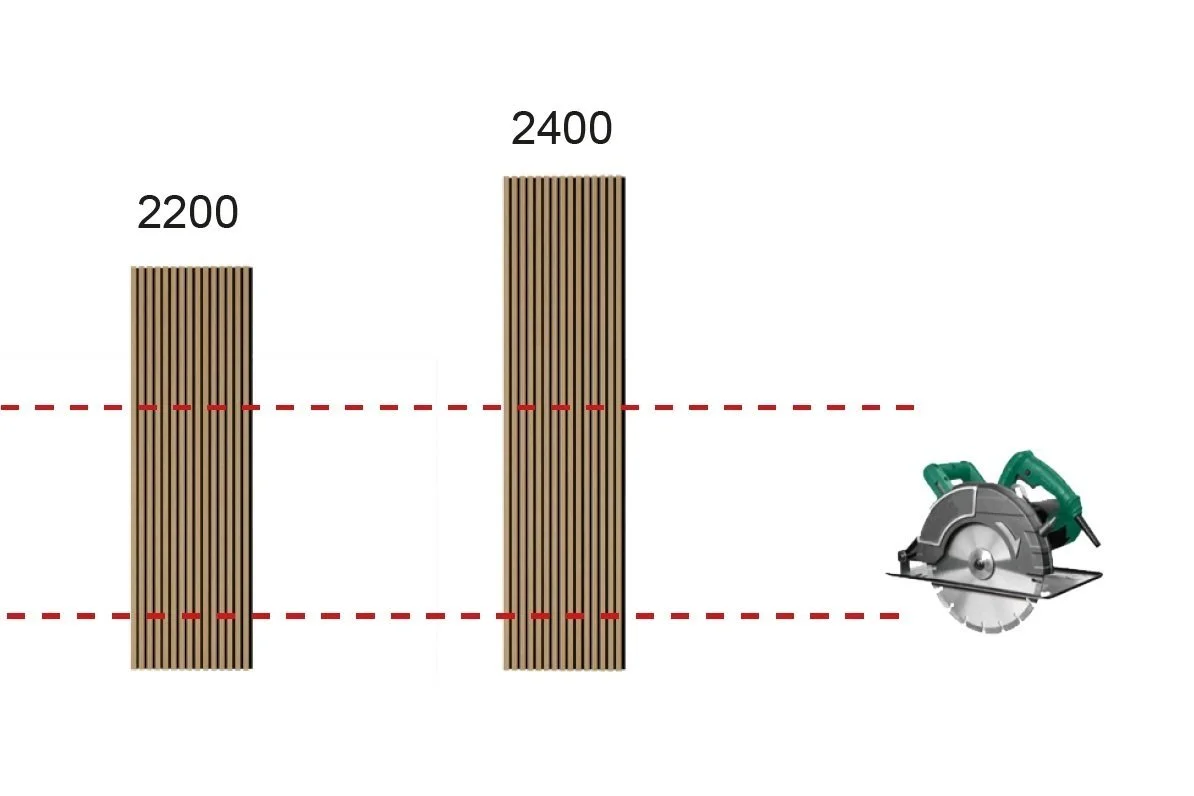
3: Cut the panels to length using a circular or hand saw. Cut to width with a utility knife
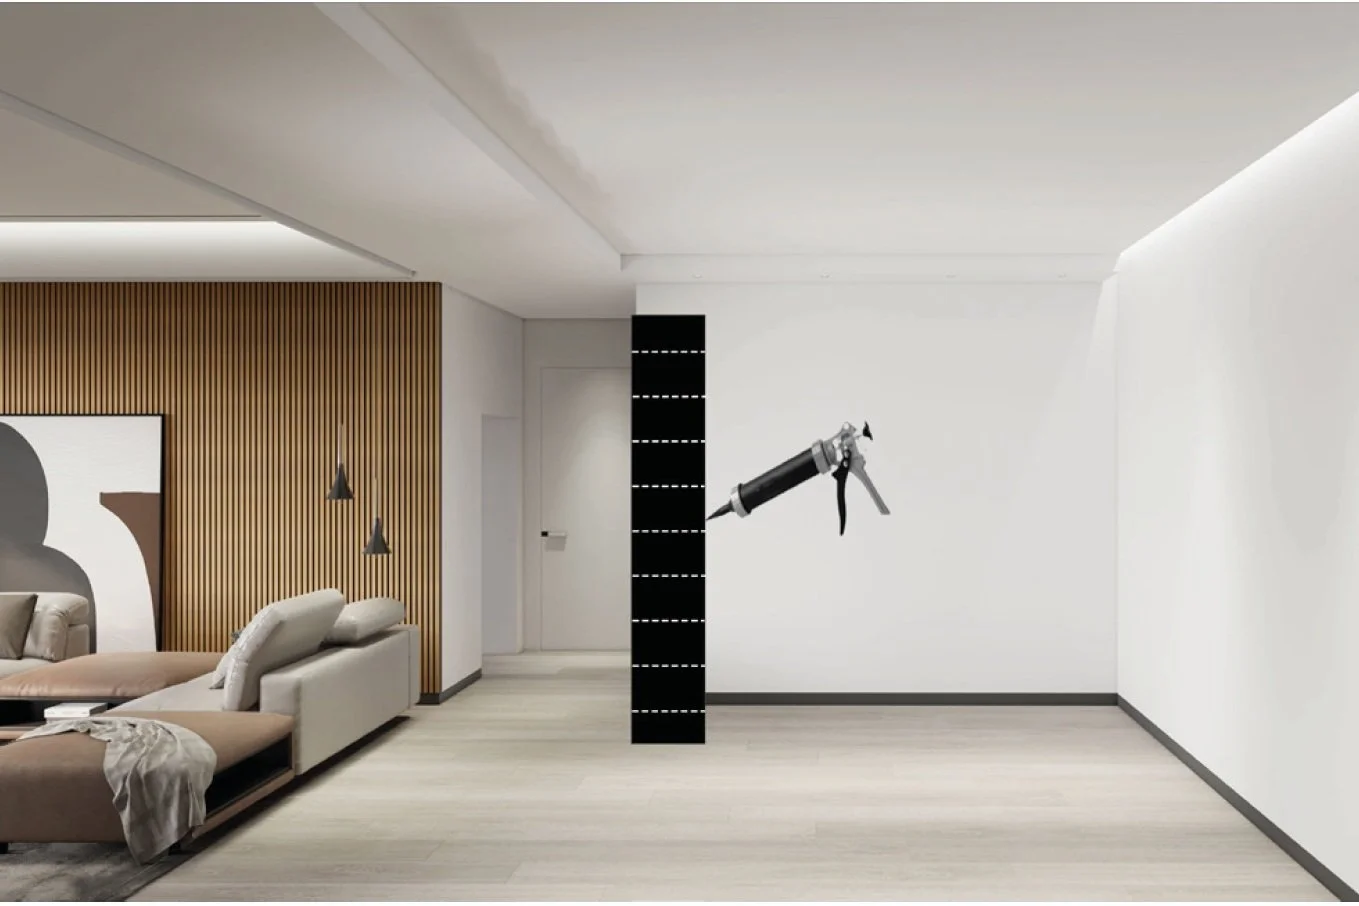
4: Apply grab adhesive to the rear of the panel
5: Mount the panels to the wall overlapping each edge. Optionally secure every third panel with screws.
Highest sound absorption method
Follow the Screw to Wall/Ceiling method however include these additional steps instead of step 4
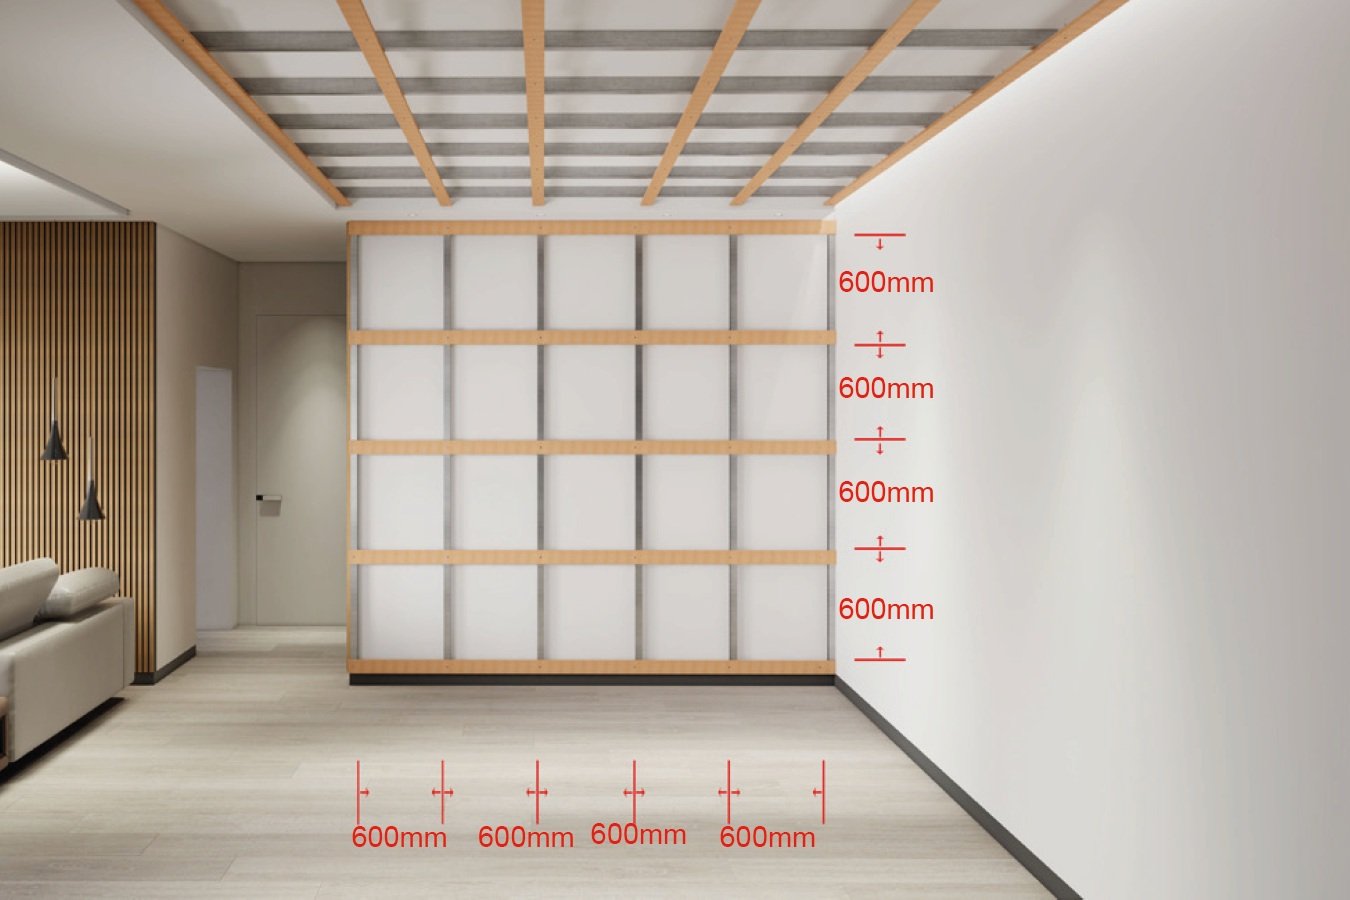
1: Install aluminium drywall joists with wooden battens to create a grid subframe
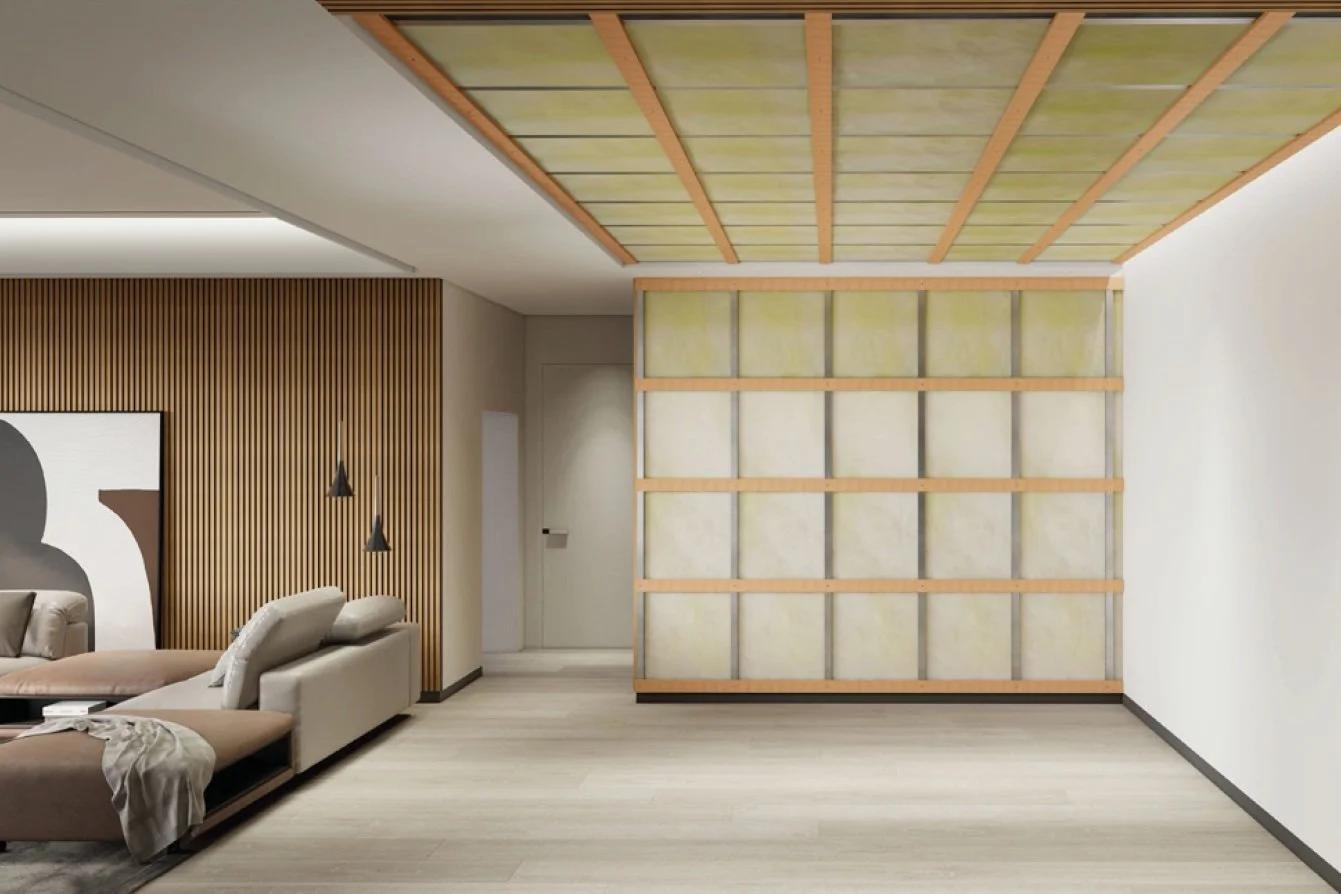
2: Fill the voids with sound absorption wool
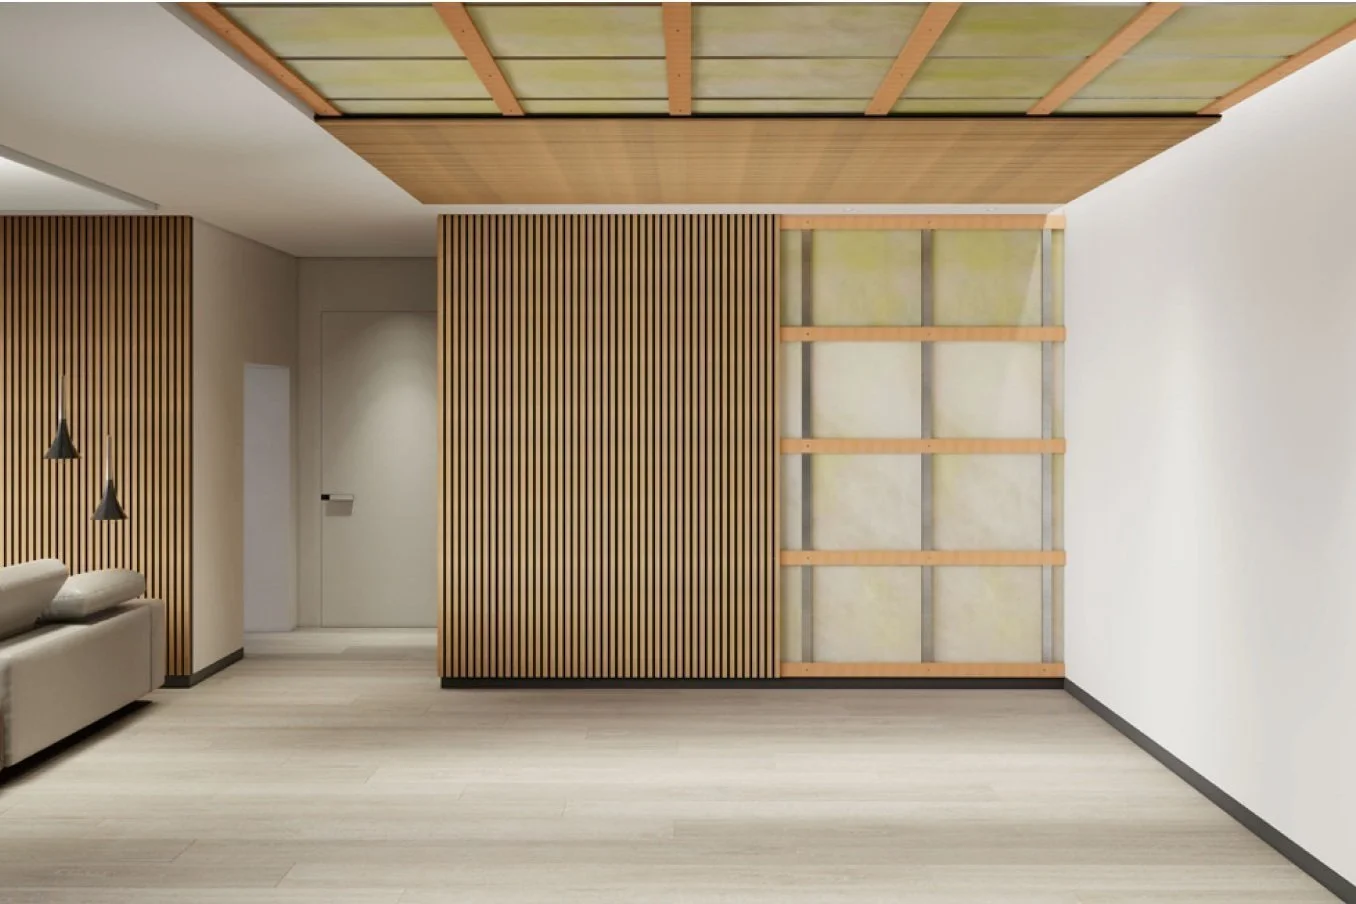
3: Fix the panels to the wood battens with screws